
- Haber Akışı
- KEŞFEDIN
- Sayfalar
- Etkinlikler
- Bloglar
-
 Hakkımızda
How to Prepare Your Walls for Professional Drywall Mudding
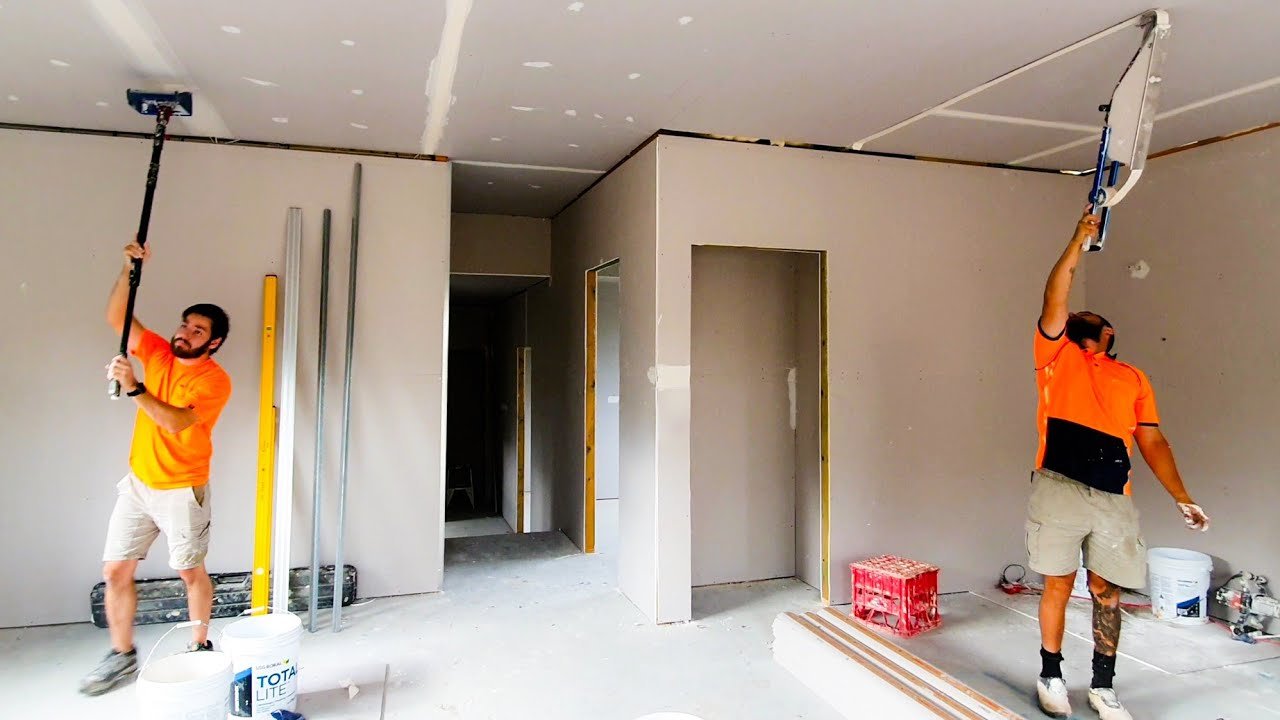
If you are planning a home renovation or finishing a new construction, proper wall preparation is crucial before the finishing touches. Drywall mudding and taping Wausau WI is a skill that requires attention to detail, but you can make the process smoother by preparing your walls correctly. Proper preparation ensures a seamless finish, reduces sanding time, and creates a professional look that lasts.
Understanding the Basics of Drywall Mudding
Before diving into wall preparation, it is important to understand what drywall mudding involves. Mudding is the process of applying joint compound to seams, corners, and screw holes to create a smooth, even surface. The process also includes taping, which strengthens joints and prevents cracks over time. A common mistake homeowners make is underestimating how much preparation affects the final appearance. By dedicating time to this step, you save effort during the actual mudding and taping stages. Using the right tools, like a high-quality drywall knife and proper joint compound, sets the foundation for professional results. Even small imperfections in wall preparation can become highly visible after paint is applied.
Clearing the Wall Surface
Removing Dust and Debris
The first step in wall preparation is ensuring the surface is clean. Dust, dirt, or drywall dust from previous sanding sessions can prevent joint compound from adhering correctly. Use a soft brush or vacuum to remove all particles. Cleaning may seem tedious, but it reduces the chances of bubbling, flaking, or uneven drying of the compound.
Checking for Loose Material
Loose drywall edges or screws can cause uneven surfaces and cracking. Run your hand over the wall to detect any irregularities. Tighten screws slightly below the surface level, but do not overdrive them. Sand lightly around areas where the drywall tape will be applied to improve adhesion.
Priming and Sealing
Before you start mudding, consider applying a drywall primer. Priming seals the surface and helps the mud adhere more consistently. This step is especially important for new drywall panels that can absorb moisture unevenly, causing patchy drying and cracking. A light coat of primer also highlights imperfections, making them easier to address before taping.
Using a drywall conditioner is another effective method for professional results. Conditioners help balance moisture absorption, particularly on older walls or surfaces exposed to varying temperatures. This small investment improves the final finish and reduces the need for excessive sanding.
Selecting Tools and Materials
Choosing the Right Joint Compound
There are different types of joint compounds, from ready-mix to powder forms. Ready-mix is easier for beginners, while setting compounds are ideal for areas that require rapid drying or multiple coats. Using a lightweight compound can make spreading easier and reduce fatigue during application.
Essential Tools for Preparation
Quality tools make a significant difference. You will need a selection of drywall knives, a hawk, sanding blocks, and a taping knife. Make sure your tools are clean and free of dried compound from previous projects. Even minor imperfections on your knife can leave ridges in the mud, ruining the smoothness of your work.
Corner and Joint Preparation
Corners are the most common areas for imperfections. Use metal or plastic corner beads to reinforce outside corners. Make sure they are flush with the drywall surface. For inside corners, fold the tape neatly and press it into the joint with a taping knife. Ensure the tape is fully embedded in a thin layer of compound, removing any air pockets. Proper corner preparation not only improves appearance but also adds strength to the wall.
Sanding and Surface Smoothing
Once the mud has dried, sanding is essential for a flawless finish. Use a fine-grit sanding block to smooth out high spots and feather edges. Work gently to avoid gouging the wall or removing too much compound. A common mistake is sanding too aggressively, which requires additional touch-ups and delays the project. Dust off the wall thoroughly after sanding to ensure the next layer of mud adheres correctly.
For a more professional touch, consider wet-sanding techniques. Lightly dampening the surface with a sponge reduces airborne dust and allows for more controlled smoothing. This approach is particularly helpful when working in small indoor spaces.
Final Inspection and Touch-Ups
Before applying the final coat of joint compound, inspect the wall under good lighting. Look for low spots, bubbles, or uneven tape edges. Address any imperfections with a thin layer of mud and allow it to dry completely. Remember that patience at this stage pays off in the final finish. Skipping inspection leads to visible flaws once paint is applied, which is difficult to correct without significant effort.
FAQ Section
What is drywall mudding and taping Wausau WI?
Drywall mudding and taping Wausau WI refers to the professional process of finishing wall seams with joint compound and tape to create smooth, paint-ready surfaces.
How long should I wait between mud coats?
Drying time varies depending on humidity and compound type. Typically, wait 12 to 24 hours between coats to ensure proper adhesion and prevent cracking.
Do I need to sand after each coat?
Light sanding between coats is recommended to remove ridges or uneven edges. Final sanding after the last coat ensures a polished finish.
Can I use any tape for drywall seams?
Paper and fiberglass mesh tapes are both common. Paper tape is preferred for corners and joints, while mesh tape is easier for beginners and patching small areas.
Is priming necessary before mudding?
While not always required, priming improves adhesion, reduces uneven drying, and highlights imperfections that need attention before taping and mudding.
Conclusion
Proper wall preparation is the foundation of high-quality drywall finishing. From cleaning surfaces and sealing with primer to carefully embedding tape and sanding, each step contributes to a polished, professional look. By following these practices, you can make drywall mudding and taping Wausau WI significantly easier and more efficient. For those seeking expert results and guidance, Work with AGP Drywall Experts ensures your walls are prepped perfectly for flawless finishing, saving time and providing peace of mind.